Gameboy
Raspberry Pi in a 3D-printed case.
Features
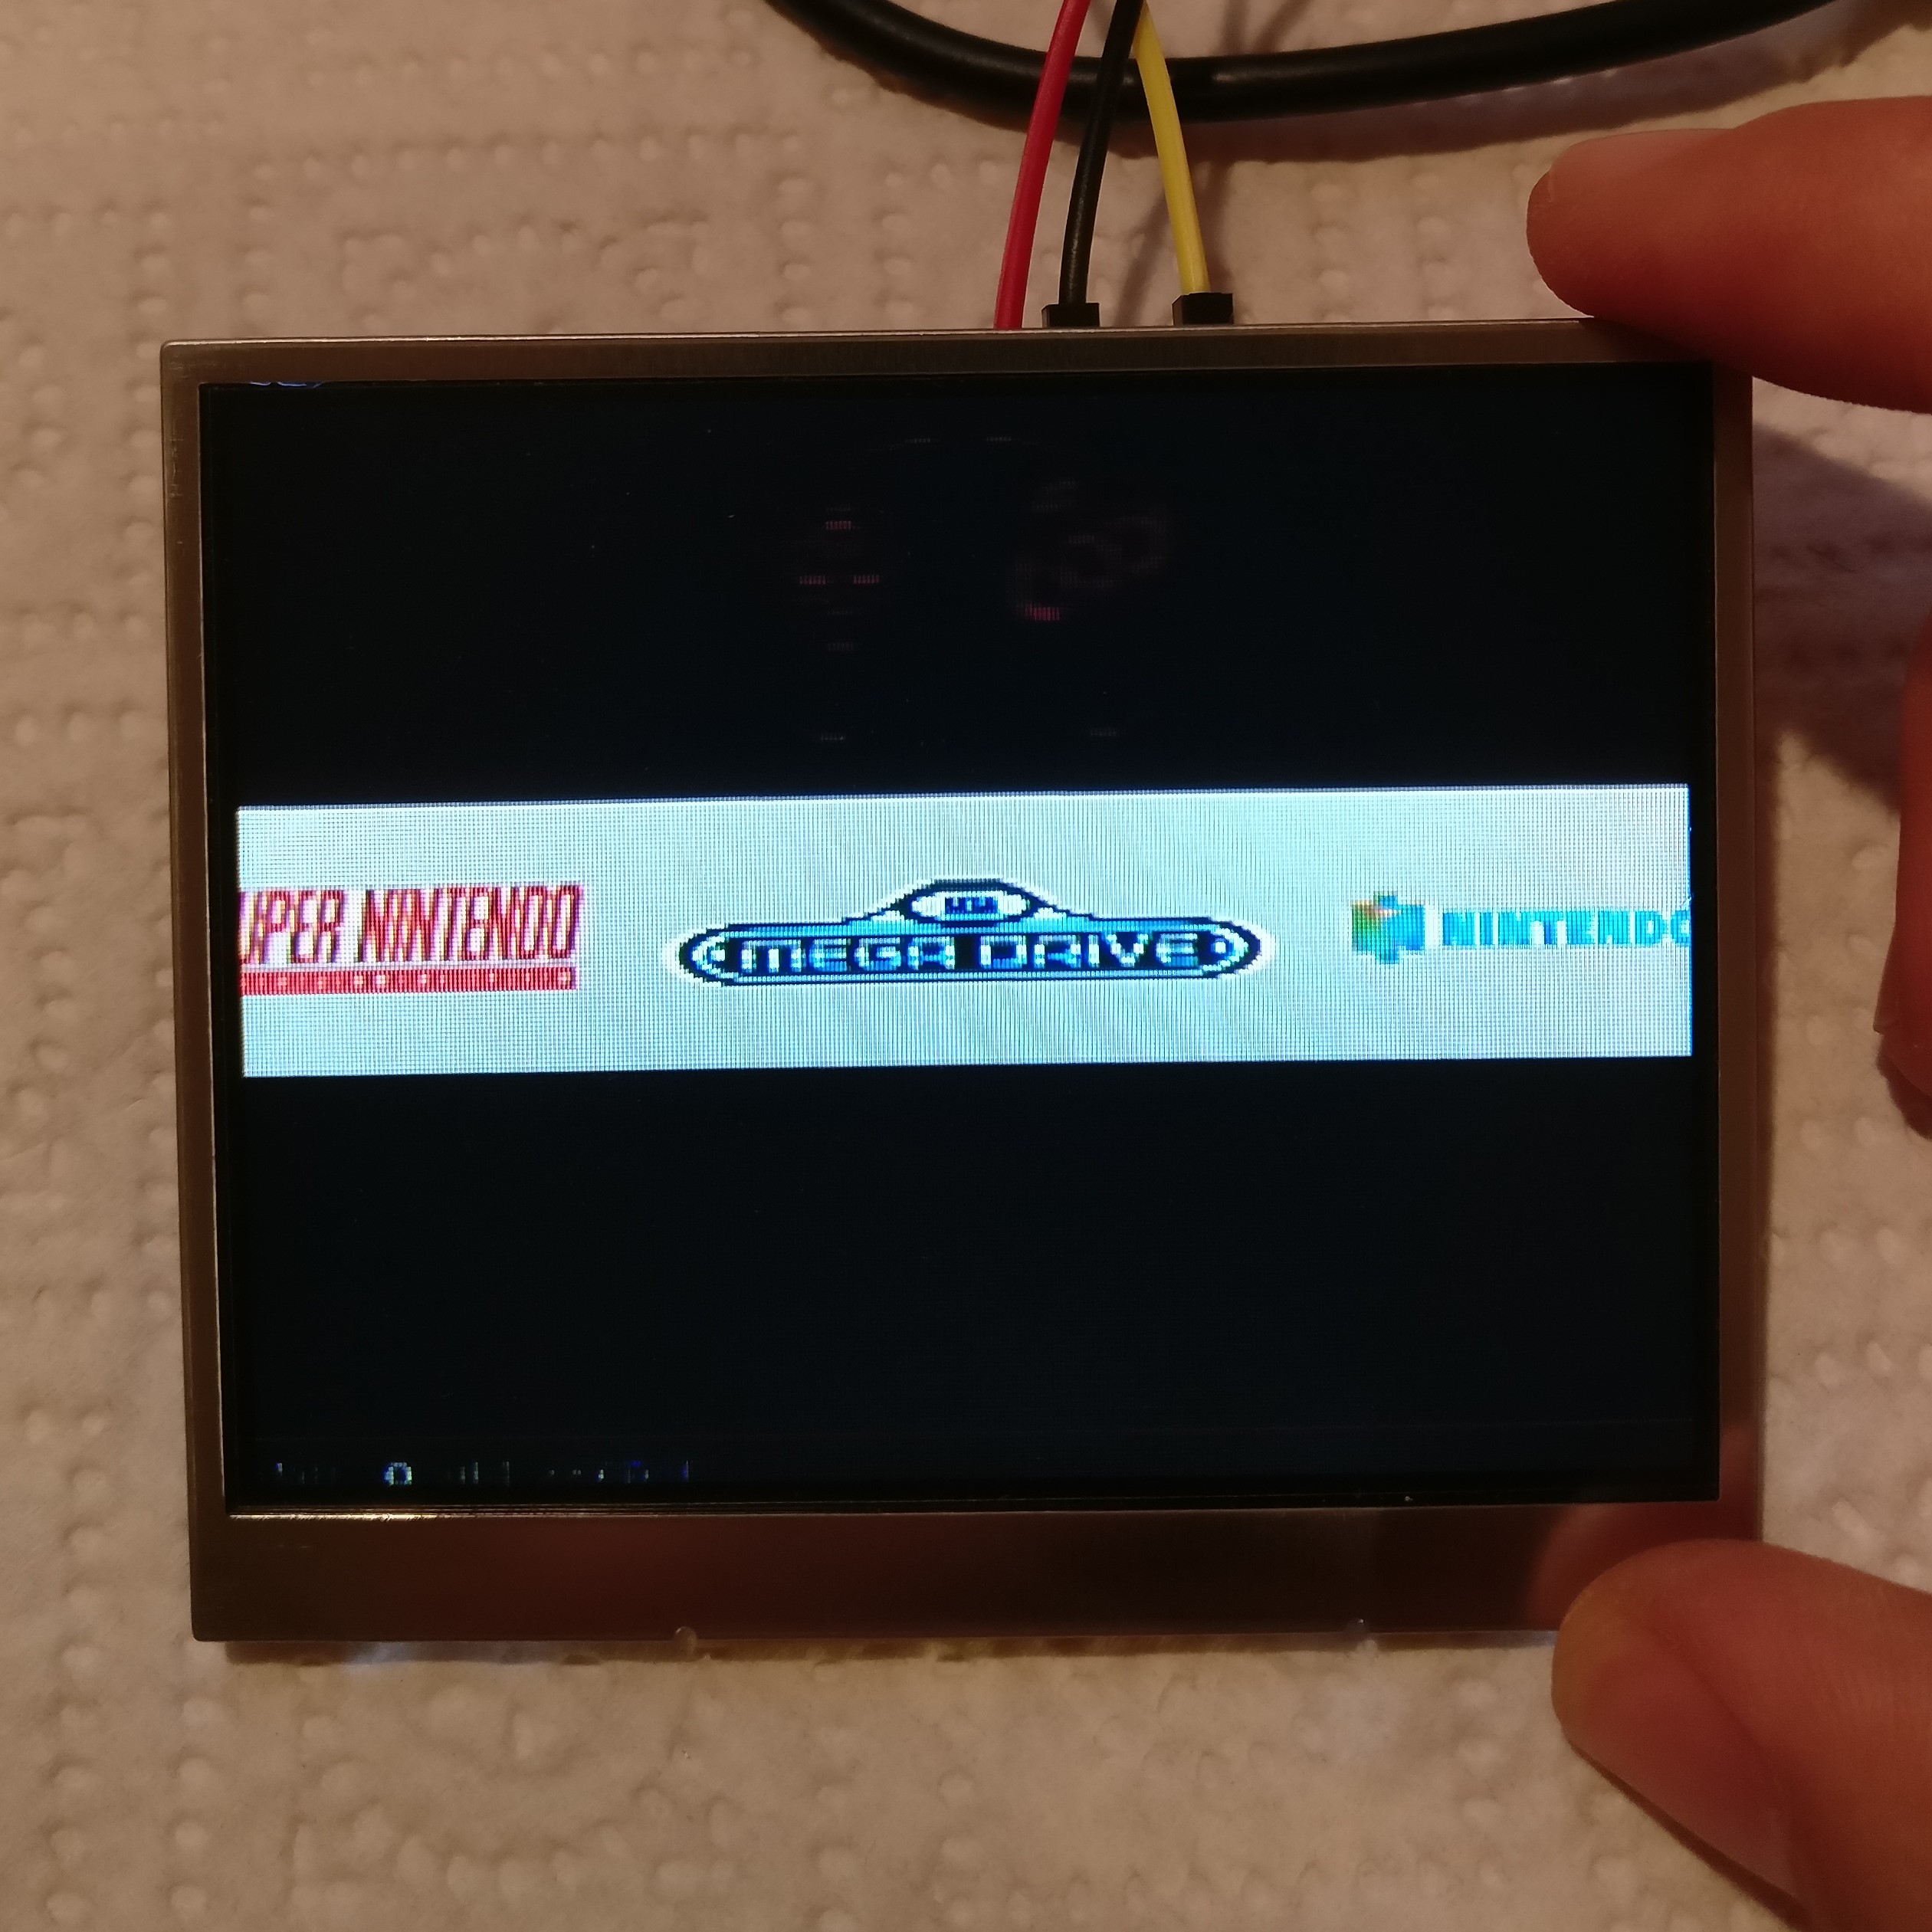
The software runs on a RPi 3b. The handheld features a 3.5′ 320×240 px TFT-LCD screen that I salvaged from a car rear view monitor but via the RPi’s onboard HDMI interface, it can also be connected to a larger monitor. On the front of the device, there are eleven buttons with four additional ones on the back. The backlight metal button on the side is the console’s power switch which is connected to the “PowerBoost 1000C” charge controller with an integrated 5.1 V boost converter from Adafruit.
Parts List
- Raspberry Pi 3b
- Screen
- Adafruit PowerBoost 1000C
- Lipo battery
- Rugged Metal On/Off Switch with White LED Ring – 16mm White On/Off
- Adafruit Mono 2.5W Class D Audio Amplifier – PAM8302
- Mini Metal Speaker w/ Wires – 8 ohm 0.5W
- Soft Tactile Button (8mm) x 10
- Perfboard
Case
The .stl files of the case and button caps are from Rasmus Hauschild.
Screen
The display has a 5 V regulator on board, it has to be removed and the 5 V from the display connected to the 5 V rail of the PowerBoost 5 V output. Leaving the regulator on board and only bridging the 5v rail leads to excessive noise in the image. The composite video (yellow wire) is connected to the test pad on the underside of the RPI 3b.


The protective plastic glass is glued into the top shell of the printed gameboy case.
Buttons
The buttons (4 on the back, x on the front) are soldered to perfboard which is screwed to the case.
Software
The pi runs retro pi. Some emulation software, that I can’t remember the name of, has been used to emulate a game controller.